
The horses Shelter that we’re talking about at this point are horse Shelter made out of plastic or horse limbs. Horses have become quite popular as of course hobbies, so it’s no surprise that there is a lot of horse talk these days. As you’ve probably noticed, lots and lots of horses are being cared for in the open environment which can make things difficult for their owners (and sometimes the animals). It wouldn’t make sense to have a conversation with someone you don’t understand well. If you’ve ever had a conversation with somebody sitting opposite you on the bus and laughed at their silly jokes, then you know what peer speaking is like in an informal setting. Horse shelters aren’t something that one sees very often outside of horse paddocks but they could be an incredibly useful staple in your living area if done properly!
What is a horse shelter?
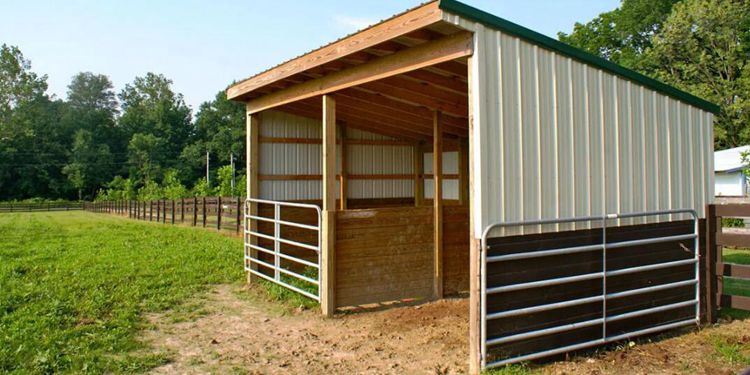
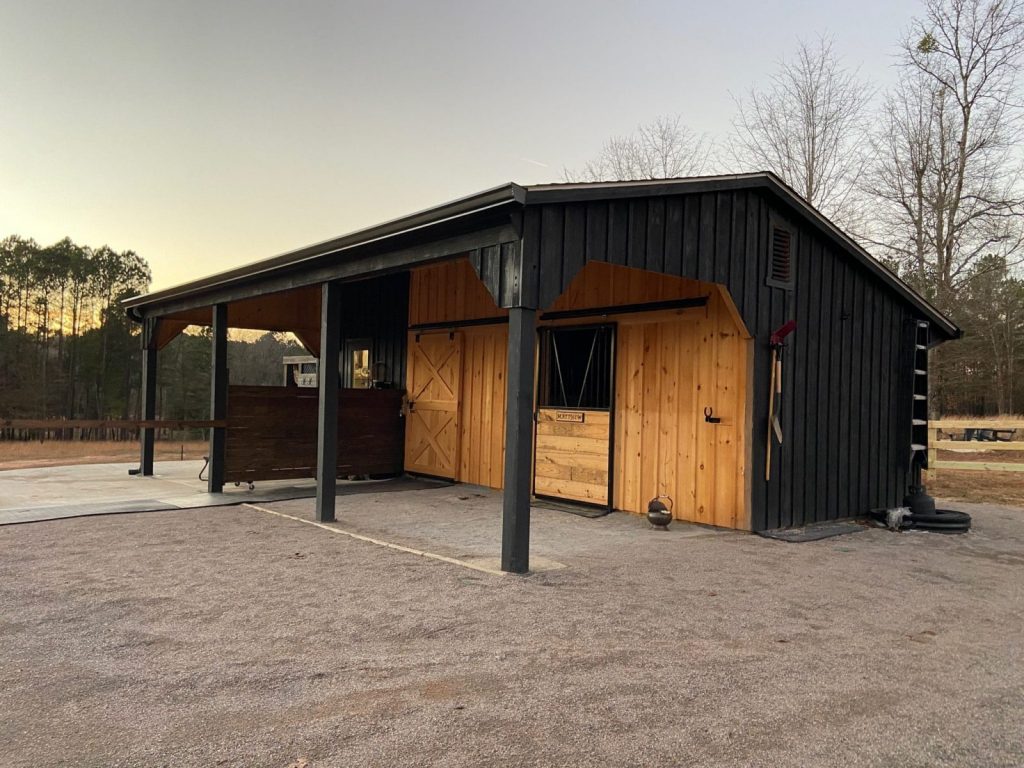
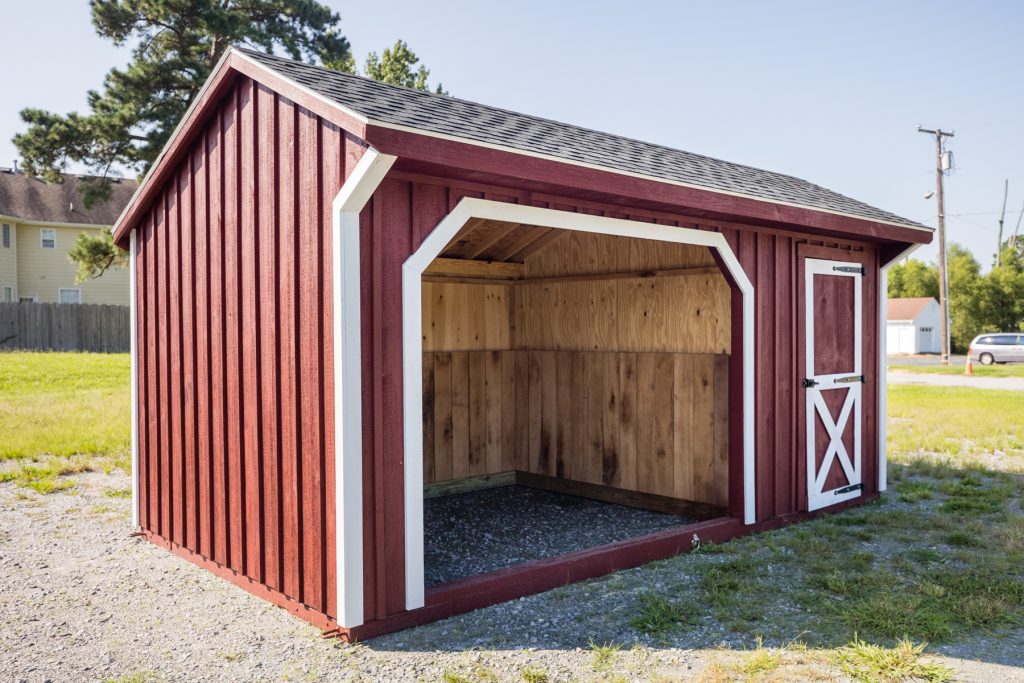
A horse shelter is simply a place that horses can safely escape the elements and find some shade. They can also relax in the shelter and have plenty of room to graze and rest. If you have a large enough yard, you could even build a larger shelter that can accommodate multiple horses.
There are a few things you’ll need to build your horse shelter:
-Some sturdy wood beams or posts
-Roughly 12 cubic feet of hay to pile up inside
-6-8 inches of concrete or dirt for the floor
-Tarpaper or other waterproof material for the roof
To build the shelter, start by marking out where you want it on your yard using stakes. You’ll then need to choose which beams or posts you’ll use to support the roof. Make sure that each beam is at least 8 feet long, so that your horses have enough space to move around inside the shelter. Once the location of the beams has been chosen, stack hay atop them until the shelter is approximately 12 cubic feet in size. Cover the hay with tarpaper or other waterproof material, and set the beams in place. Seal off any openings in the roof with sturdy wooden boards, and your horse
Building a Horse Shelter
There are a few things you’ll need in order to build a horse shelter in your backyard.
-The materials vary depending on the size of the shelter. For example, if you’re building a small shelter that can hold two horses, you’ll only need three pieces of 8×4 board, a piece of PVC pipe for the entrance, and some screws. If you’re building a larger shelter that can hold four or more horses, you’ll need more materials.
-You’ll also need someone to help you build the shelter. Have someone hold the boards while you attach them to the PVC pipe with screws.
-After the shelter is built, make sure it’s secure by tying down any loose boards or keeping tight screws in place.
How to Build the Horse Shelter
If you’re anything like me, you love spending time outdoors, but you also love your horses. You may be wondering how you can keep your horses safe and comfortable while you’re away.
Luckily, there is a solution that doesn’t require too much work on your part –you can build a horse shelter in your backyard! Here’s how:
Materials and Tools You’ll Need:
-6 foot by 6 foot Posts (4 for the roof, 2 for the sides)
-Tape measure
-Construction lumber (1x4s for the roof, 1x6s for the sides, and whatever else you need to hang the shelter)
-Rope or twine
-Circular saw or sharp knife
-Circular or jigsaw
-Stiles or railing posts to hold up the roof (optional, but recommended)
-Horse shelter vinyl siding or other waterproofing material (optional)
-Camo netting (optional)
Optional Items:
-Granite or other stone for a foundation (recommended if using Stiles or Railings Posts)
-Shelter door(s) (available
Installation
The horse shelter should be installed in a shady and windy area of your yard, preferably where there is access to water and hay. The shelter should be made from two 8×8 feet panels of sturdy Masonite or vinyl fencing, each with aPosts mounted on top for the roof. The posts should be at least 24 feet apart, and the space between them should be at least 6 feet. A 30-foot-long piece of 6×6 fencing can serve as the side fence. The interior of the shelter should be 9 feet wide, 10 feet high, and 8 feet long.
To build the shelter:
1) Cut six 18-inch pieces of MDF or plywood to span the width and height of the shelter. When cutting the MDF or plywood, make sure that the length is equal to the depth of the posts plus 1 foot. You will also need four 18-inch pieces for each side of the shelter.
2) Drill 2¾-inch holes in each post at a distance of 3½ feet from each other.
3) Mount 2¾ × 4 inch Posts in each hole by screwing two Posts together through both holes in one post and then screwing one Post
How to install your ground anchors
Do it yourselfers have a few options when it comes to installing ground anchors. With the help of some simple tools and sturdy construction materials, you can build your own horse shelter in just a few hours.
Required Materials
-10 pound hammer
-Assorted screws
-Tape measure
-Circular saw
-Socket set
-Level
-Plywood or barn board
-Stiles, Poles, or structural lumber (1×4) for fence post(s)
-Concrete or sandbar fill (6″ thick)
Note: All measurements are approximate and vary depending on the location of your shelter and the size of your ground anchors. Refer to the linked article for more specific information.
1. Mark out the shelter area on your ground with stakes and or leveling rods. Remember to keep the interior square! You’ll use this layout later when assembling the shelter walls. If you don’t have level stakes, you can use small rocks to mark off even increments. Round up any extra stakes and use them as transfer points for later assembly steps (like attaching the roof supports).
2. Remove any vegetation in the area surrounding your shelter. This includes everything from tall grasses to small shrubs – you want as much ground unobstructed as possible for installing your anchors.
3. Cut the 10 pound hammer down to a size that will comfortably fit in your hand. Socket the hammerhead with the screws, making sure not to over-tighten.
4. Drive the screws into the ground at an approximately 45 degree angle, using a circular saw. Make sure the threads are properly aligned and screw evenly into both anchors (top and bottom). Make certain there are no gaps or spaces where dirt or rain can get inside – this will cause your sheltering system to fail prematurely! If in doubt, use a level to ensure perfect alignment of your anchors.
5. Place plywood or barn board on top of both anchors and spread out the weight evenly using sturdy 2x4s or stiles. You may also need help if it’s difficult to hold up the boards while striking nails with a hammer.
6. Once all anchors have been hammered in place, remove temporary supports and start nailing down your shelter walls! Again, make sure all nails are well-aligned and hammered in firmly – failure to do so could result in your shelter collapsing during a heavy